
Let’s be honest—buying trendy earrings these days feels like a scam. You walk into a boutique, spot a cute pair of abstract clay drops, flip over the price tag, and suddenly $48 is staring back at you. For clay! I don’t know about you, but I refuse to pay rent money for a few grams of baked polymer.
That’s exactly why I fell headfirst into the world of DIY clay earrings. I needed something to match my outfit that didn’t require taking out a small loan. And you know what? It’s way easier than it looks. I’ve had disasters—don’t get me started on the time I baked a batch and they came out looking like burnt toast—but I’ve also made some pieces that people genuinely thought I bought at Anthropologie.
So, whether you’re a total beginner or a seasoned clay-slinger looking for fresh inspo, I’ve got you covered. Here are 18 gorgeous DIY clay earring ideas that will level up your jewelry collection without leveling your bank account.
Before We Start: The “Clay 101” Reality Check
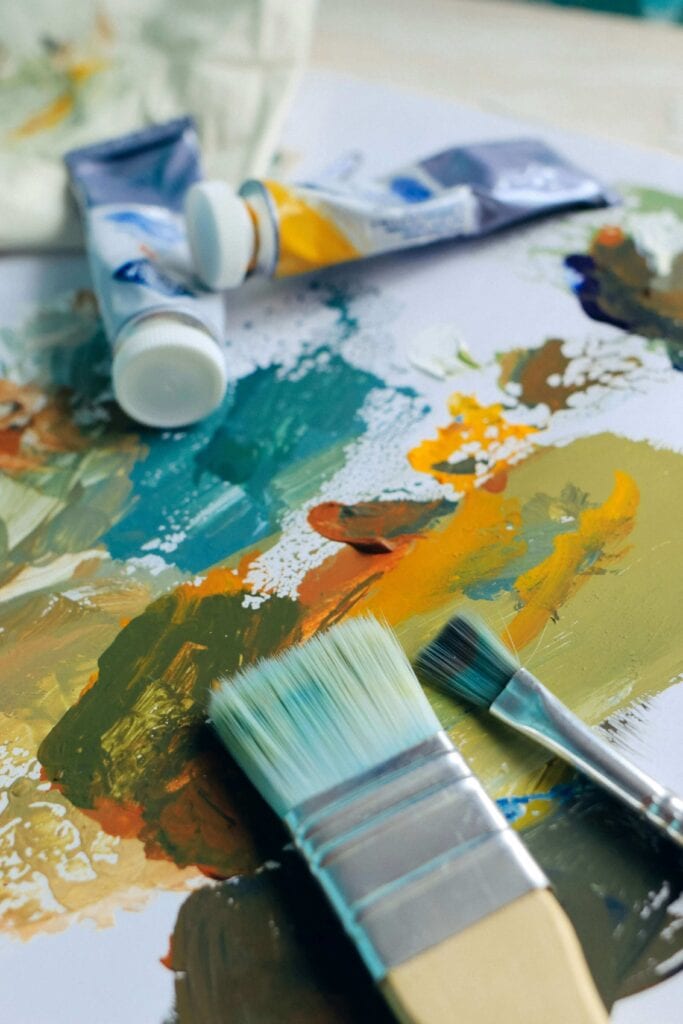
Ever wondered why some homemade earrings look professional and others look like a preschool art project? It usually comes down to three things: conditioning, even rolling, and proper baking.
I learned this the hard way. My first pair looked amazing going into the oven. They came out looking like deformed potato chips. :/ The trick? You have to roll the clay evenly. If it’s thicker in some spots than others, it will warp. Trust me on this.
What You’ll Actually Need
You don’t need a full pottery studio. Here’s the shortlist:
- Polymer clay (Sculpey or Fimo are my go-tos—Sculpey is softer and easier on the hands, IMO)
- Acrylic roller or pasta machine (Yes, a pasta machine. It changes the game.)
- A clean work surface (Tile or glass works best—wood leaves texture)
- Exacto knife or clay blades
- Toothpicks (for making holes and textures)
- Baking sheet with parchment paper
- Earring findings (post backs, jump rings, and hooks)
- Sandpaper or nail files (for smoothing edges post-bake)
- Glaze or liquid clay (for that glossy, professional shine)
FYI, you can find most of this stuff on Amazon or your local craft store. Don’t overthink it.
Geometric & Modern Designs
Sometimes simple shapes make the biggest statement. If you’re a fan of clean lines and minimalist aesthetics, this section is your happy place.
1. Abstract Shard Earrings
These are my absolute favorite for beginners because perfection is actually the enemy here.
Roll out your clay to an even thickness. Use a blade to cut random triangular and trapezoid shapes. Don’t measure—just go with the flow. Texture them with a toothpick or leave them smooth. After baking, I love pairing a matte black shard with a glossy white one. The contrast is chef’s kiss.
2. Marbled Clay Hoops
Okay, these look fancy, but they’re stupidly simple.
Take two colors—say, terracotta and cream. Roll them into snakes, twist them together, then fold and twist again. Roll this twisted log into a ball, then run it through your pasta machine (or roll it flat). You’ll get this gorgeous, unique marble pattern. Cut out a circle and poke a hole for the earring post. Instant sophistication.
3. Terrazzo Pattern Dangles
Terrazzo is everywhere right now, and you can totally fake it with clay.
Start with a base color (white or blush works great). Chop up tiny bits of other colors—neon pink, black, gold—and press them into the base. Roll over them to embed the chunks. Cut out your shape (semi-circles or rectangles look amazing), and you’ve got a high-fashion look for pennies.
4. Minimalist Half-Moon Hoops
Sometimes you just want a little accent.
Roll your clay and use a circle cutter (or a cup) to make a circle. Then, cut it perfectly in half. Attach a jump ring to the flat edge. Pair these with plain gold hoops by threading them on, or wear them alone as unique studs. Pro tip: Use a glossy glaze on these to make them look like polished stone.
Nature-Inspired Beauties
Botanical vibes never go out of style. These designs bring a little bit of the outdoors to your outfit.
5. Pressed Flower Earrings
This requires translucent or white clay, but the result is magical.
Roll out your clay thinly. Place a tiny, dried flower (you can press them in a book beforehand) on the clay. Roll over it gently to embed it. Cover with another thin layer of translucent clay, or just cut around the flower. When you hold these up to the light, the flower looks like it’s floating inside. It gives major ethereal fairy vibes.
6. Textured Leaf Studs
Nature provides the best tools.
Roll your clay. Take a real leaf (a succulent leaf or a herb like rosemary works great) and press it firmly into the clay, vein-side down. Peel it off, and you have a perfect organic imprint. Cut around the imprint in a rough leaf shape. Add a stem detail with a blade. These are subtle but so detailed.
7. Agate Slice Knockoffs
Real agate slices are heavy and expensive. Clay versions are light and cheap.
Mix several colors of clay loosely to create a “stone” log. Slice thin rounds off the log. Each slice will have unique rings and patterns. Add a tiny bit of gold leaf or paint to the edges after baking for that authentic agate look.
8. Speckled Bird Egg Earrings
Oval shapes are having a moment. Roll tiny ovals in soft blues, greens, or beiges. Use a toothpick to gently poke little speckles all over the surface. Before baking, you can dab a tiny bit of brown paint in the speckles for realism. They look adorable and organic.
Texture & Dimension Play
If you’re bored of flat jewelry, it’s time to add some depth.
9. Basket Weave Earrings
This one requires a bit of patience, but the texture is insane.
Roll out two different colors of clay into thin, flat sheets. Cut them into thin strips. Weave them together like a tiny basket (a checkerboard pattern). Once woven, press gently to fuse the strips, then cut out your desired shape—squares or rectangles work best. They look like you spent hours at a loom.
10. Knitted or Cable Knit Effect
Yes, you can make clay look like a cozy sweater.
Roll a thin snake of clay. Lay it in a wavy, zigzag pattern to mimic knitting. Press it gently onto a flat base shape. Use a needle tool to add tiny details. These are perfect for winter outfits. They literally look like you’re wearing your favorite sweater on your ears.
11. Stacked Discs
Simple, but the dimension comes from the layers.
Cut out several circles of graduated sizes. You can use different but coordinating colors. Stack them from largest to smallest, gluing them together with liquid clay before baking. Pierce a hole through the top disc for a jump ring. They swing and move beautifully.
12. Ruffled Edge Earrings
These sound fancy because they are.
Roll a thin sheet of clay. Use a circle cutter to make a round. Then, using a ball tool or the round end of a paintbrush, thin out the edges of the circle by pressing into them. The clay will ruffle and flare. Do this all the way around. It creates a delicate, shell-like ruffle that catches the light.
Fun & Whimsical Statements
For the days when you want your jewelry to start a conversation.
13. Tiny Food Charms
I have a pair of earrings that are tiny slices of pizza. People stop me on the street.
Think about your friend’s favorite food and make a miniature version. Tiny tacos, little watermelons, or miniature cookies. You sculpt them by hand—they don’t have to be perfect. Imperfect food looks handmade and charming. Add a thick layer of gloss to make the “frosting” or “glaze” look realistic.
14. Book Page Cameos
This is a mixed-media project.
Roll a base shape in a neutral clay. Before baking, press a small rectangle of text from a book (seal it with Mod Podge first!) onto the clay. Trim the edges. After baking, you can add a simple design around the text with a paint pen. Perfect for the bookworm in your life.
15. Modern Mismatch Sets
Who says earrings have to match?
Create a set of four earrings—two for each ear—that coordinate but don’t match. For example, one ear gets a cloud and a star, the other gets a moon and a sun. Or one ear gets a solid triangle, the other gets a striped triangle. It’s playful and trendy.
16. “Stained Glass” Effect
Use translucent clay and tiny bits of colored clay.
Roll out a shape (like a teardrop or a circle). Cut out little windows or shapes inside it. Fill those windows with thin sheets or tiny chunks of bright, translucent colored clay. When you bake it and hold it up, light shines through like actual stained glass.
The Finishing Touches (Don’t Skip This!)
You made the earrings. You baked them. Now what? The finish is what separates a craft project from a piece of jewelry.
Sanding is Your Best Friend
After baking, you’ll often have rough edges or fingerprint smudges.
- Use fine-grit sandpaper (400 to 600 grit) and dip it in water.
- Gently sand the edges until they are buttery smooth.
- Dry the piece off. You’ll feel the difference immediately.
Glaze for the Win
A glossy glaze adds depth and makes colors pop. A matte glaze looks modern and understated.
I personally love using a liquid polymer clay as a glaze. You brush it on before the final bake, and it bakes right on, creating a permanent, shiny coat. No chips, no fuss.
Attaching the Hardware
Use jump rings to connect your clay piece to the earring hook. Make sure you open jump rings sideways (twist, don’t pull apart) so they keep their shape. A tiny dot of super glue on the knot of the jump ring ensures your masterpiece doesn’t fall off in a sewer grate. We’ve all had that nightmare.
Storing Your New Collection
You spent hours on these, so don’t just toss them in a drawer.
- Hanging organizers: Clear shoe organizers with pockets work great.
- Earring cards: Punch holes in pretty cardstock and hang your creations. It looks like a store display.
- Small craft boxes with dividers: Perfect for protecting delicate shapes.
Warning: Polymer clay can react with certain plastics over time and become sticky or gooey. Store your finished earrings in paper or fabric-lined boxes, not directly on soft PVC plastic.
Why You’ll Never Buy Fast Fashion Jewelry Again
Making your own earrings is addictive. You start with one pair, then suddenly you’re making matching sets for all your friends, and before you know it, you’re eyeing that expensive pasta machine because “it rolls more evenly.”
But honestly? There’s nothing better than wearing something and knowing you built it with your own two hands. Plus, when someone compliments your earrings, you get to casually say, “Oh, I made them.” It’s the ultimate humble brag. 😉
So grab some clay, clear your kitchen table, and get rolling. Which of these 18 gorgeous DIY clay earrings are you trying first? I’m personally obsessed with the pressed flowers, but the pizza slices are calling my name too.