
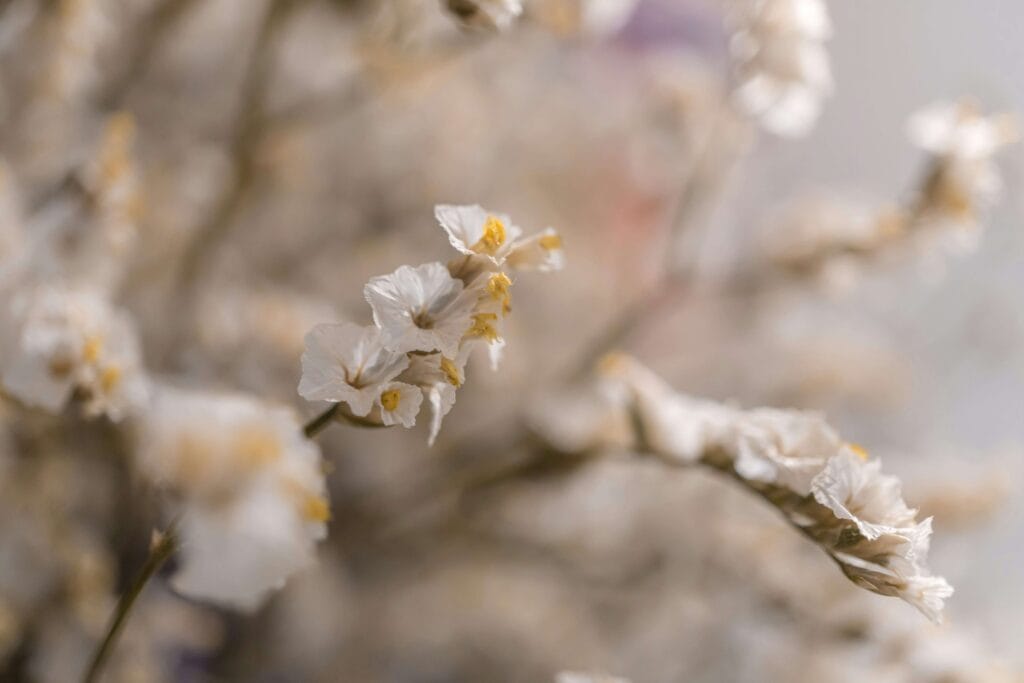
Let’s be honest for a minute. I love the idea of fresh flowers. I really do. But I also love not spending a small fortune on a bouquet that’s going to look sad and wilted in under a week. :/
There’s nothing quite like the disappointment of watching your pretty peonies droop over into that “I’m dying” posture. Am I right?
That’s exactly why I fell head over heels for DIY flower crafts. You get all the beauty, none of the guilt, and definitely none of the weekly trips to the florist. I’ve filled my home with blooms that don’t need water, sunlight, or any of that high-maintenance nonsense.
Whether you’re a crafting newbie or a seasoned glue-gun warrior, these 16 DIY flower crafts will keep your home looking fresh and fabulous, no matter what the weather’s doing outside. Grab your supplies, and let’s make some flowers that actually last.
Why Fake It? The Perks of Permanent Petals
Ever wondered why so many people are ditching real bouquets for handmade alternatives? It’s not just about being cheap (though, IMO, saving money is a solid reason).
It’s about control. You control the color, the size, and the style. You want a giant pink rose the size of your head? Go for it. You want a succulent that looks real but won’t die because you forgot to water it for three months? Done.
Plus, these crafts make incredible gifts. I gave my mom a bouquet of book-page roses last year, and she still has them on her nightstand. Try doing that with a real orchid.
Paper Flowers: The Classic Choice
Paper is probably the first thing you think of when someone mentions fake flowers. And for good reason—it’s cheap, forgiving, and comes in a million colors.
1. Crepe Paper Peonies
If you want flowers that look almost real, crepe paper is your best friend. It has a natural stretch and texture that mimics real petals perfectly.
- My Experience: My first attempt at these looked more like a sad, crumpled napkin. But I learned that stretching the edges of the petals gently with your fingers makes all the difference. It gives them that delicate curl that real peonies have.
- Materials: Crepe paper, florist wire, glue, and some serious patience.
2. Coffee Filter Flowers
This is the budget-friendly option that actually looks like watercolor art. Grab a pack of unbleached coffee filters, flatten them out, and paint them with food coloring mixed with water.
- The Technique: Stack about five filters together, scrunch them in the middle, and wrap the base with florist tape. Once they dry, the colors blend beautifully. I made a whole garland of these for my kitchen, and people genuinely ask if they’re real.
3. Book Page Roses
Got an old book you’ll never read again? Perfect. Cut out a spiral circle (like a snail shell), and then start rolling it tightly from the outside in. Let it loosen up as you go.
- Pro Tip: The older and yellower the pages, the more vintage and romantic they look. I hot-glued these bad boys onto a plain wreath form, and it now hangs proudly on my front door.
4. Tissue Paper Pom-Pom Flowers
You’ve seen these at parties. They’re those big, fluffy balls that look like giant carnations. Stack about 8-10 sheets of tissue paper, fold them like an accordion, tie the middle with string, and then fan out the layers.
- Warning: This gets messy. Tiny tissue paper bits will take over your living room. But the end result? Totally worth it. Hang them from the ceiling for instant party vibes.
5. Cardboard Tube Tulips
Remember that cardboard article we talked about? 🙂 Here’s another use for those toilet paper rolls. Flatten the tube and cut out a tulip shape (two rounded humps at the top). Paint them bright colors, and glue them onto a green straw or stick.
- Why Kids Love This: It’s practically indestructible. You can drop it, step on it, and it just pops back into shape.
Fabric Flowers: Soft and Durable
Paper is great, but fabric brings a whole different level of cozy. Plus, you can usually find scraps lying around your house.
6. Burlap Roses
Burlap has that rustic, farmhouse-chic vibe that I just can’t get enough of. Cut a long strip of burlap (about 2 inches wide and 20 inches long). Fold it in half lengthwise and start rolling it up, gluing as you go to secure the base.
- FYI: Burlap is itchy to work with. Wear gloves if you have sensitive skin. I learned this the hard way after an hour of making a wreath and looking like I lost a fight with a hay bale.
7. Felt Succulents
Succulents are already low-maintenance, but felt succulents are even better. Cut out various teardrop and circle shapes from green felt. Layer them and glue them together to create those thick, fleshy succulent leaves.
- Where to Use Them: I filled a shallow wooden box with these, added some pebbles at the base, and it sits on my coffee table. Zero watering required. Seriously, it’s the perfect plant for me.
8. Fabric Scrap Flowers
Got a bin of random fabric scraps? Good. Cut out circles of varying sizes (you don’t need them perfect—wonky is charming). Stack them, sew or glue a button in the center, and fray the edges slightly.
- Styling Tip: Sew a hair clip or a brooch pin on the back. Now you have a custom accessory that matches your favorite dress.
9. Yarn Wrapped Flowers
Cut out a flower shape from cardboard. Then, wrap colorful yarn all around it, covering every bit of the cardboard. You can use one color or get crazy with stripes.
- Rhetorical Question: Is there anything more satisfying than wrapping yarn around something? It’s basically meditation with a crafty payoff.
Nature-Inspired: Bringing the Outdoors In (Literally)
Sometimes, the best materials come from outside. Let’s mix nature with craft.
10. Pressed Flower Lanterns
Take a nature walk and collect some small, flat flowers and leaves. Press them in a heavy book for about a week until they’re dry and flat. Then, using Mod Podge, glue them onto a plain glass jar.
- The Effect: Pop a tea light candle inside, and the flowers glow from within. I made these for a friend’s wedding, and they doubled as centerpieces and take-home gifts.
11. Pine Cone Flowers
Pine cones already look like flowers, don’t they? Especially when they’re fully open. Paint the tips of the scales in bright colors—pinks, yellows, reds—and hot glue a stem (a heavy-gauge wire) to the base.
- Personal Opinion: These look incredible sprayed with fake snow for winter decor. Multi-seasonal crafting at its finest.
12. Twig and Branch Bouquet
This isn’t a flower per se, but it’s the perfect base. Gather some interestingly shaped branches. Spray paint them white or leave them natural. Then, attach your paper or fabric flowers to the ends of the branches and arrange them in a tall vase.
- Why This Works: It adds height and drama. It feels like you have a blossoming tree inside your house.
Upcycled Flowers: Trash to Treasure
We crafters love a good upcycle. These projects prove that one person’s trash is really our floral treasure.
13. Plastic Bottle Flowers
Grab a clean 2-liter soda bottle. Cut off the bottom (the bumpy part). You’ll notice it already looks like a flower! Paint it with acrylics or nail polish, poke a hole in the center, and attach a stem.
- Seriously, This Works: The clear plastic looks surprisingly like glass or crystal when painted lightly. It’s one of those crafts that sounds crazy until you actually see it.
14. Egg Carton Daffodils
Cardboard egg cartons are perfect for this. Cut out the individual cups. Trim the edges to form pointy petals. Paint them yellow, and use a small strip of yellow or orange paper rolled up in the center for the trumpet.
- Nostalgia Alert: I remember making these in kindergarten. They still hold up as a cute craft, and honestly, they make me smile every time.
15. Tin Can Lid Flowers
If you use canned goods, save the lids. Flatten them with a hammer (carefully!), and use a permanent marker to draw a flower shape. Then, using strong scissors or tin snips, cut out the shape. Punch a hole and hang them with fishing line.
- Safety First: The edges will be sharp. File them down or cover the edges with a thin line of hot glue.
16. Magazine Page Flowers
Before you recycle those old magazines, flip through them and find pages with lots of color. Cut out petal shapes and layer them. The text and images create a really cool, graphic look.
- The Best Part: You can find any color palette you want. Fashion magazines give you glamorous pinks and reds, while National Geographic gives you earthy greens and blues.
Bringing It All Together: Arranging Your Everlasting Garden
So you’ve made a pile of flowers. Now what? Don’t just leave them in a heap on your dining table (though, hey, that’s a look).
- Create a Focal Point: Use your largest, showiest flowers in the center of your arrangement.
- Vary the Heights: Use different stem lengths to create depth. Put some flowers up high and some tucked down low.
- Add Greenery: Don’t forget leaves! Cut leaf shapes from green felt or paper and add them to fill out the bouquet.
I personally love mixing different types of flowers in one vase. A burlap rose next to a paper peony next to a felt succulent? It shouldn’t work, but it totally does. It’s eclectic, it’s personal, and it’s 100% you.
Ready to Start Blooming?
There you have it—16 ways to keep your home in full bloom without ever worrying about a watering can. Whether you’re covering your house in crepe paper peonies or raiding the recycling bin for bottle bottoms, you’re creating something that lasts.
Have you tried any of these before? Or do you have a flower craft disaster story that still makes you laugh? I’d love to hear about it. Now go make some flowers that will never, ever die. 🙂