
So, the air has that crisp bite again, the pumpkin spice lattes are flowing like wine, and your Instagram feed is suddenly full of sweaters and falling leaves. You know what that means—it’s officially craft season. There’s just something about autumn that makes me want to cover every surface in plaid and twinkle lights instead of, you know, doing my actual work.
I’ve gathered up a dozen of my favorite, foolproof DIY fall crafts that actually look good and won’t have you throwing a glue gun across the room in frustration. Whether you’re a seasoned pro or someone who still confuses mod podge with school glue (no judgment here), these projects are for you.
1. Painted Wood Slice Pumpkins
These little guys are basically the chameleons of fall decor. They work on mantels, as place settings for Thanksgiving dinner, or just sitting in a bowl looking adorable.
Gathering Your Supplies
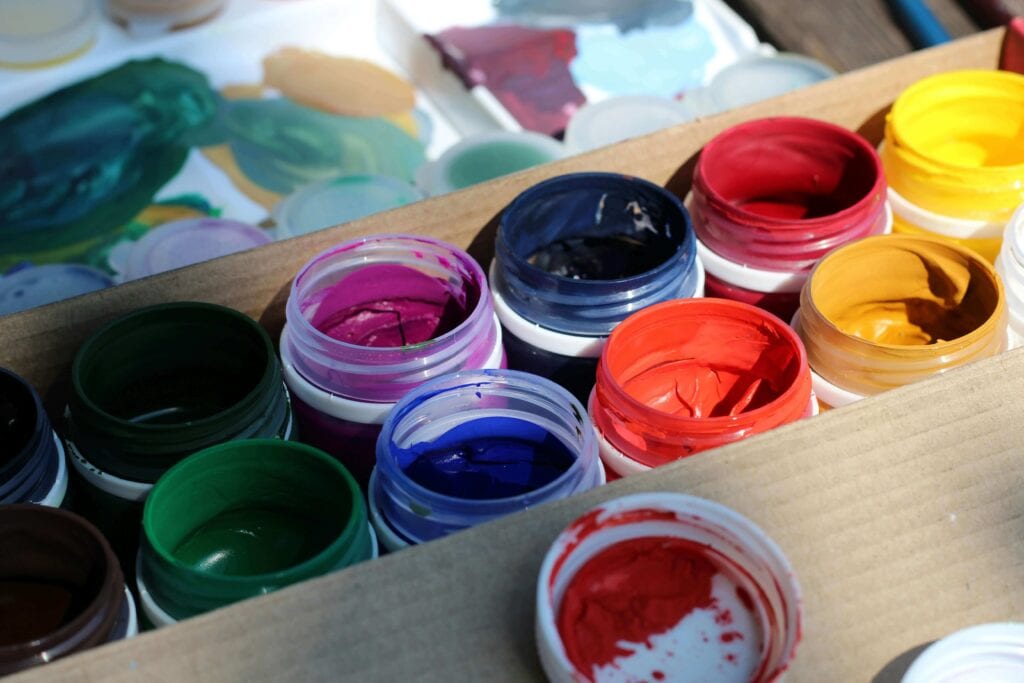
First, you’ll need some wood slices. You can find these at any major craft store, or if you’re feeling ambitious and own a chainsaw (I do not), you could make your own. I usually grab a bag of the pre-cut ones because my idea of “roughing it” is a hotel without room service.
- Wood slices (various sizes look best)
- Acrylic craft paint in orange, cream, and green
- A small foam brush or sponge
- Twine or jute string
The Simple Technique
Paint the top of the wood slice orange. I usually do two coats because I’m impatient and the first one always looks streaky. Once it’s dry, you just tie a piece of twine around the top for the stem. Want to get fancy? Paint a little green leaf on there, or leave some slices with the natural wood showing through for a rustic look. Honestly, it’s so easy it feels like cheating.
2. DIY Burlap Wreath
Burlap wreaths are the “little black dress” of autumn door decor. They go with everything, and you can dress them up or down. I have made approximately 47 of these over the years, and I’ve finally nailed down the method that doesn’t make you want to scream.
Picking Your Base
You have two options here: a wire wreath frame or a styrofoam base. I’m team wire frame all the way. It gives you more control over the fluffiness. FYI, the wire frames can be a little stabby, so watch your fingers. :/
- Wire wreath frame (14″ or 16″ works great)
- Burlap ribbon on a roll (the wired kind is easier to work with)
- Floral wire or pipe cleaners
Fluffing Like a Pro
Just thread the burlap ribbon over and under the rings of the frame, scrunching it as you go. The key here is the fluffing stage. Once you’ve gone all the way around, go back and twist, turn, and separate the loops so it looks full and intentional, not like a sad, flat donut. I usually spend twice as long fluffing as I do threading.
3. Mason Jar Leaf Lanterns
I have a confession: I am a mason jar hoarder. They multiply in my basement, I swear. If you also suffer from this condition, here’s a project to put them to good use.
Materials Needed
Grab your clean, label-free jars. You’ll also need:
- Mod Podge (the matte finish works best here)
- A foam brush
- Pretty fall leaves (real or fake)
- Tea lights or fairy lights
The Application Process
If you’re using real leaves, press them in a book for a day or two so they lie flat. Paint a layer of Mod Podge onto the jar, stick the leaf on, and then paint another layer right over the top of the leaf. Don’t worry about the wrinkles—it adds character! I once tried to use synthetic leaves for this, and let’s just say it was a hot, melty mess. Stick to the real thing or the thin paper ones from the craft store.
4. Twine-Wrapped Letters
Spelling out “FALL” or “THANKFUL” in big, chunky letters on your mantel is a classic move. But buying those expensive wooden letters is for the birds. This version costs pennies.
Choosing Your Letters
You can get giant paper mache letters at any craft store for a few bucks. Pick a font style you like—I’m partial to the simple, blocky ones because they’re less fiddly to wrap.
The Wrapping Method
Start by gluing the end of your twine to the back of the letter with hot glue. Then, wrap tightly around the letter, keeping the rows close together. It’s a bit like giving the letter a warm, cozy sweater. When you get to a corner, keep the tension consistent. Hot glue is your best friend here. Secure the end on the back when you’re finished. This is a great “Netflix and craft” project because it’s repetitive but satisfying.
5. Felt Acorn Garland
I am obsessed with felt. It doesn’t fray, it comes in a million colors, and it feels so soft. This garland is a perfect way to bring some texture into your home without bringing in actual wildlife.
Cutting the Shapes
You’ll need brown felt for the acorn cap and tan or cream for the nut. You can freehand these shapes—they’re just ovals and circles—but if you’re a perfectionist, make a cardboard template first.
Assembling the Garland
- Cut out a bunch of “acorns” (the tan part).
- Cut out little “caps” (the brown part).
- Glue the cap onto the top of the acorn.
- Use a needle to string them onto jute or thick thread.
Pro-tip: Add a tiny leaf shape to the cap for extra detail. IMO, it’s these little touches that make people say, “Wow, did you buy that?” And you get to smugly say, “No, I made it.”
6. Painted Pinecones
Kids love this one, which means it’s a fantastic way to keep the little ones busy while you try to drink your coffee while it’s still hot. It’s also surprisingly therapeutic for adults.
Prepping Your Pinecones
If you gathered these from outside, you need to bake them. Pop them on a baking sheet at 200°F for about 20-30 minutes. This kills any bugs or sap and opens them up. Trust me on this. You do not want bugs in your house.
Painting Techniques
You can go full-on metallic gold for a glam look, or white-tipped for a snowy effect. My favorite method is to use a sponge brush to dab paint on the edges of the scales. It highlights the texture beautifully. You can leave them in a bowl or glue magnets on the back for the fridge.
7. Easy No-Sew Pillow Covers
When the weather turns cold, I want to touch all the soft things. But buying new throw pillows every season is expensive! Here’s a hack using iron-on hem tape.
The “Fake Sew” Method
Buy a yard of cozy plaid or flannel fabric. Cut it to the size of your pillow form plus an inch on all sides.
- Lay the fabric pattern-side down.
- Fold the edges over and iron them flat to create a crease.
- Use hem tape to seal those edges (just follow the package instructions).
- Fold the fabric like an envelope around your pillow form and use more hem tape to seal the overlapping flap in the back.
Seriously, it takes ten minutes and looks store-bought. No one has to know you didn’t thread a single needle.
8. Cinnamon Applesauce Ornaments
These smell incredible. Like, if you could bottle the scent of autumn, this would be it. They’re technically ornaments, but I hang them from cabinet knobs, drawer pulls, and light fixtures just to make the whole house smell like a bakery.
The Dough Recipe
It’s literally just applesauce and cinnamon. Mix equal parts until you form a stiff dough. If it’s too sticky, add more cinnamon. Too dry, add more applesauce.
- Roll it out between two sheets of parchment paper to about 1/4 inch thick.
- Cut out shapes with cookie cutters (leaves, pumpkins, circles).
- Use a straw to poke a hole for hanging.
Drying Time
Let them dry on a wire rack for 24-48 hours, flipping occasionally. You can also dry them in a low-temperature oven (200°F) for a few hours if you’re impatient like me. Just keep an eye on them so they don’t burn—burnt cinnamon doesn’t smell as nice. :/
9. Upcycled Sweater Pumpkins
This is the ultimate upcycle project. Dig through your closet for that old sweater with the hole in the elbow, or hit up a thrift store for cheap wool sweaters.
Cutting and Stuffing
Cut the sleeve off the sweater. Sew or glue one end closed, stuff it with poly-fil, and then sew the top closed. Now you have a fabric ball.
Creating the Pumpkin Shape
Use a strong needle and thread to run a long stitch around the outside of the ball, from the bottom to the top and back down. Pull it tight—this creates the classic pumpkin segments. Tie it off, cover the top with a cinnamon stick shoved into the center for a stem, and maybe glue on a felt leaf. Instant autumn.
10. Chalkboard Paint Leaf Coasters
Protect your coffee table in style with these super functional coasters. Real leaves make the best templates because no two are exactly alike.
Finding the Right Leaves
Look for sturdy leaves with prominent veins—maple or oak leaves work perfectly. They need to be relatively flat.
The Process
- Place a leaf vein-side up on a protected surface.
- Spray it lightly with a repositionable adhesive.
- Stick it onto a piece of cardstock or thin cardboard.
- Spray the entire thing with chalkboard paint (several light coats).
- Once dry, peel the leaf off to reveal the negative space.
You’ll be left with a perfect leaf-shaped stencil. Or, you can paint the leaf itself and press it onto the cardboard to make a print. Either way, seal it with a clear coat so condensation doesn’t ruin it.
11. DIY Fall Candle Holders
Plain glass candle holders are boring. Let’s fix that with some basic supplies and a little bit of patience.
Materials for Texture
You’ll need clear glass cylinders or votives. Head to the dollar store for these—no need to spend big money.
- Mod Podge (again! this stuff is liquid gold)
- Coarse salt or Epsom salts
- Burlap strips
- Twine
Two Easy Looks
For a “frosted” look: Brush Mod Podge onto the outside of the glass and roll it in salt. It creates a beautiful, icy texture that catches the light of the candle.
For a rustic look: Wrap the base of the holder with burlap and tie twine around it. That’s it. Simple is sometimes better. Ever wondered why rustic decor looks so cozy? It’s usually just burlap and twine saving the day.
12. Framed Fall Leaves
This is the “grand finale” project that looks like art but requires zero artistic talent. It’s all about letting nature do the heavy lifting.
Pressing Your Leaves
Gather the most colorful, perfect leaves you can find. Place them between two sheets of wax paper inside a heavy book. Stack more books on top and wait about a week.
Arranging the Art
Once they’re flat and dry, arrange them in a shadow box frame. I like to arrange them in a “falling” pattern, or just a simple grid. Close the frame, and you have a piece of art that cost you maybe five bucks (for the frame) and a walk in the park.
So there you have it—twelve ways to fill your home with autumn goodness without breaking the bank or losing your mind. Whether you’re making a mess with the kids or enjoying a quiet evening with a glue gun and a glass of wine, I hope these ideas spark some creativity.
Got a favorite fall craft that I missed? Go make something awesome, and don’t forget to send me a picture of your creations! Happy crafting, friends.
